2nd February 2014 – Another day of drilling holes, cutting wood and painting metal.
2nd February 2014 – Another day of drilling holes, cutting wood and painting metal.
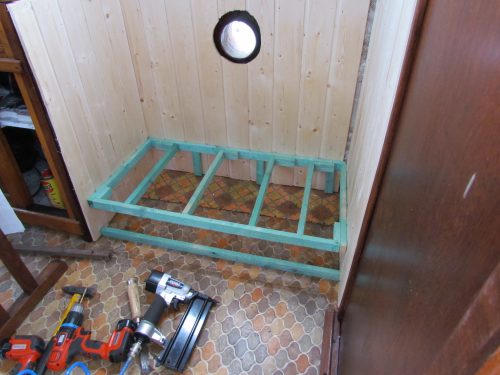
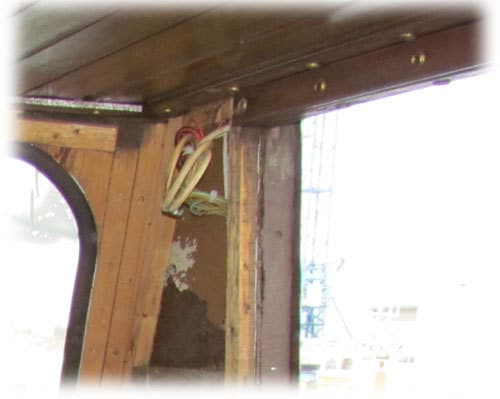
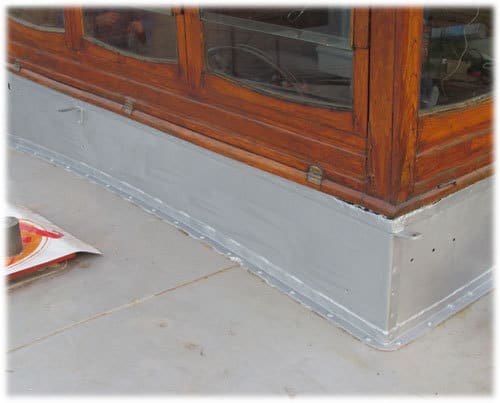
1st February 2014 – The idea is to use foam as insulation for the ship. But I doubt, I might still go for the traditional insulation. Since I don’t know it yet, I’m making my frame work like on the Hornblower. Wide enough for putting insulation, but also solid enough to hold the foam and to screw sheets of multiplex on it afterwards.
It took me all day drilling holes and bolting the wood to the metal…
29th January 2014 – Since the floor is nearly finished I can start thinking about framing the hold. This looks easy, but it needs a lot of planning. I want to keep the maximum of space, but I need to have ten centimeters between the framework and the metal for spraying insulation foam.
At the end of the evening, I managed to build a sample of the frame for the den. To clear my mind, I painted some more of the metal in the hold….
")
")
")
")
")
")
")
")
")
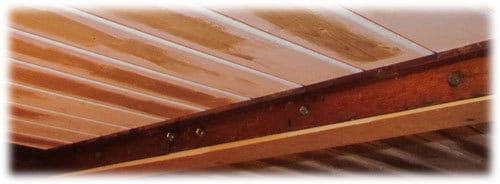
25th January 2014 – In the early morning, I started welding the remaining frames for the floor. Once finished, the whole framework was painted and the wood bolted to it.
By the end of the day the floor was nearly ready. It is so much nicer to walk on a decent floor then to step from one rib to the other….
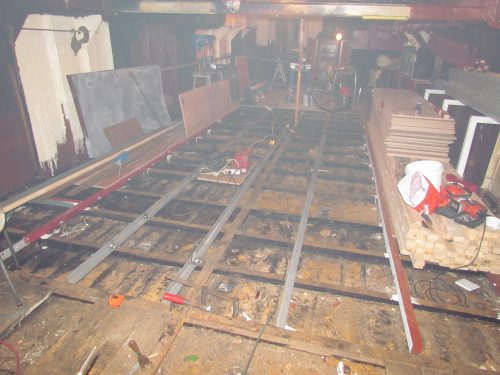
24th January 2014 – I had some time off at work and decided to finish the floor in the hold. This will make it easier for building the inner roof and to paint the hold decently.
14th January 2014 – The first day I’m working again aboard the Aquarel. My grinder felt into several pieces, this was the end of continuing on my floor. Since I was there, I decided to clean the hold and to finish the woodwork around the diesel heather.
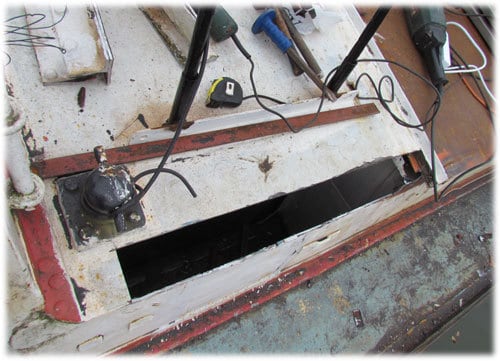
4th January 2014 – In the morning, I started cleaning some of the bilges. One square meter gave me two buckets of grease and rust. Everywhere I see a bolt, it is the moment to weld it. Saves me trouble later! I keep saying: it is a shame and a big stupidity to drill holes through her original hull and put bolts into her wooden floor from underneath!
Later that day I finished my entrance hatch and in the evening I worked on the wheelhouse, starting to make the corner where the diesel heather will come. I have to raise the heather a little bit since her exhaust doesn’t come to the hole at the back of the wheelhouse.

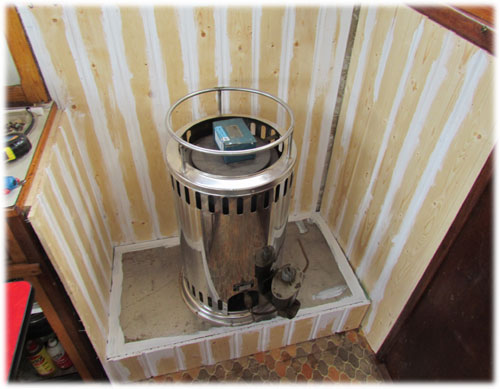
The heatpol heather has a long history. I bought it for the Hornblower when I was in Holland. I bought it back from the new owners of the Hornblower and installed it now aboard the Aquarel. Besides heating the room, you can also use it for cooking.

29th December 2013 – The engine room doesn’t smell well with the oil and water in the bilges. I mounted the air vents that came with the ship. I hope with some fresh air, it will make it easier working in the engine room the next couple of weeks.
The mast at the back of my ship broke when I turned around in Merelbeke. A friend salvaged the mast and she is now back on the boat!
28th December 2013 – In the morning I used some silicone to close the bigger gaps in the wheelhouse. In the afternoon, my parents came to help oiling the wood on the inside of the wheelhouse. It now looks like a proper wheelhouse again!
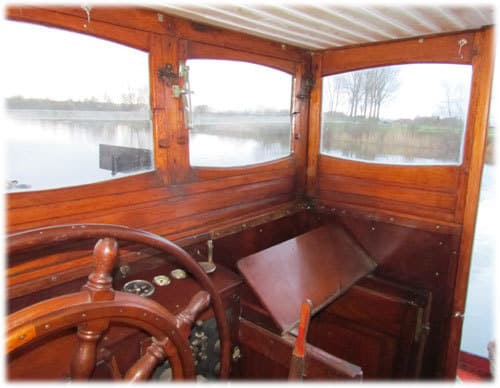
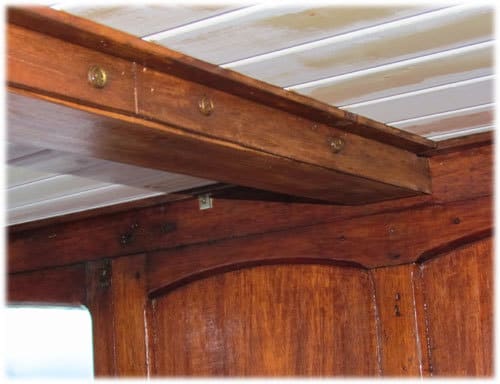
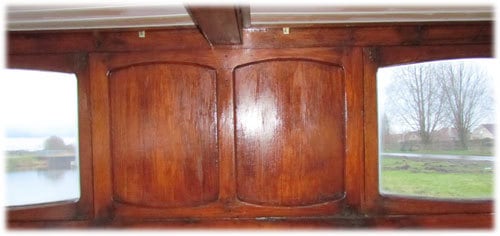
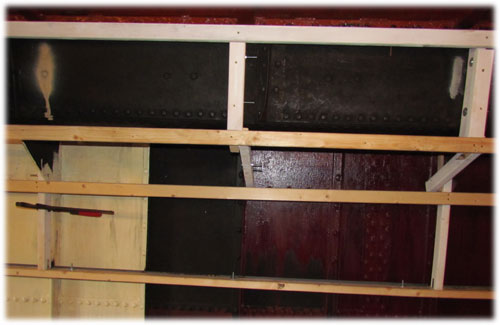
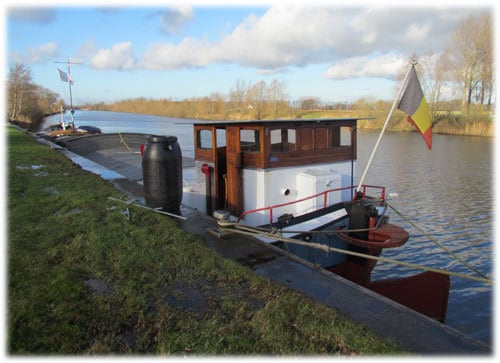
26th December 2013 – I finally managed to finish the wood work in the wheelhouse. She looks as good as she could. The metal beam in the middle is now covered with wood, old wood from the interior of the Hornblower.
The wood is mounted with copper screws. I reused the one I saved a few years ago when I dismantled the interior of my previous ship Hornblower. It is nice to know that the effort I made is now worth it!
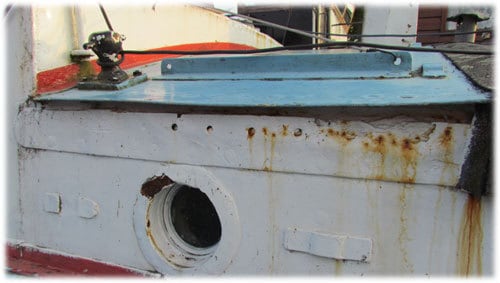
23rd December 2013 – The holes in the accommodation are closed. In the end more metal was replaced then planned. When I bought the Aquarel, she was looking good, everything nicely covered with paint. Sadly enough, there was more paint then metal left…
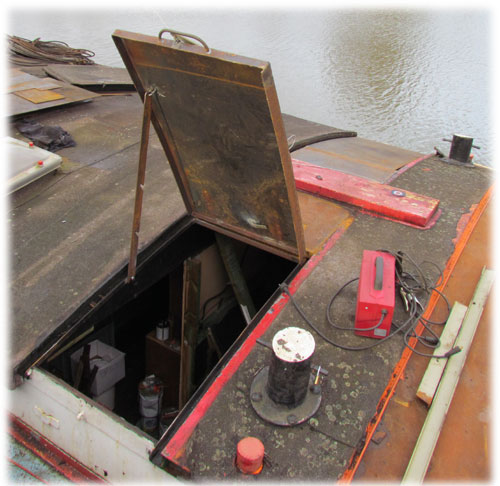
In the afternoon, I started on my first hatch. I need for hatches: Two for the entrance, one for the generator room and one for the central heater area. The weather changed quickly, so the job will be finished another day…
21st December 2013 – Time to close some more holes in the accommodation. The back accommodation is not that brilliant. Since I want to restore it to the original state, the metalwork has to be replaced and remade as it was. I’m not riveting, but welding. There is a limit on my budget!
16th December 2013 – Since the weather is good, I’m insulating the wheelhouse. I can put my tools outside while working, no rain no wind! I’m putting three centimeters of PUR insulation sheets on the roof. On top of this, some t&g wood will make the finish.
14th December 2013 – So after a busy week on other people’s boat, and a heavy night partying, it was time to start working again! The plan was to continue on the floor, but a small leak in the wheelhouse decided me to alter plans.
The metal underneath the wooden wheelhouse is gone. It has rotten away the last fifty years. I could dismantle the wheelhouse and replace the metal. This is the best solution, but I don’t have the time and the courage to do so. I removed the old silicon, polyester and rust. I sanded down the metal, painted it and filled everything with a good quality polymer silicon.


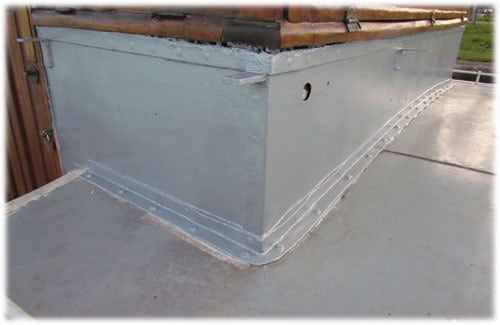
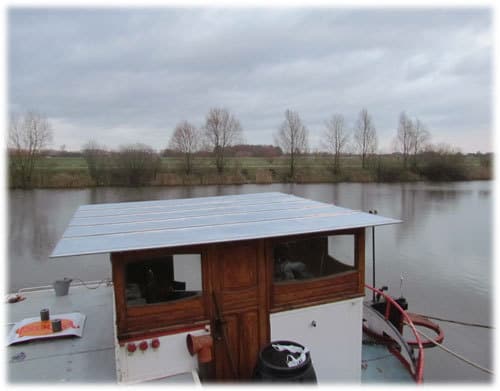
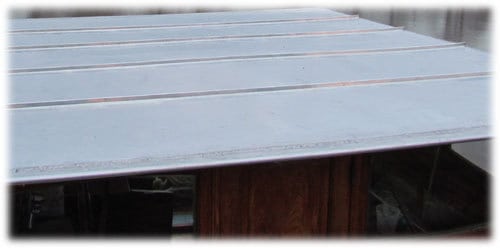
8th December 2013 – The wheelhouse roof wasn’t as dry as a I planned. I had a leak in the gap between the two sheets and the multiplex was not very water proof. It was painted on both sides, but started to show some signs of delaminating. I put on a roof in zinc. It looks old fashioned, just like the rest of the boat. But more important: it is dry inside!